A Beginners Guide to Manual Photography
Taking photos in manual mode isn’t as scary as it sounds. I pinky promise.
For years I’ve shot on automatic mode, stubbornly believing that the camera knew better than the photographer on what settings it should be on to capture stunning images.
I even shot on automatic all through my college photography minor. I suspect my instructor knew the whole time, sorry Meghan!

At that point it wasn’t that I didn’t want to learn how to shoot in manual, I didn’t have the time (I was taking close to 20 credits every semester) or money to keep dropping on film to learn how to properly shoot on manual. And so much of my work in college was about composition and what I was shooting, so learning how the camera worked fell to the back burner.
Prior to taking formal classes on the subject, I had only ever snapped photos of far off places or things that people don’t have the opportunity to see every day. Nothing in my day to day life seemed interesting enough to take pictures of so it never mattered that I simply pushed the button.
Somewhere along the way, the northern lights, lightning, and waterfalls became something I needed to capture for myself. I needed to have my own photos of these amazing natural things because as the saying goes, “pics or it didn’t happen.”
My first time on manual
I remember the first time I played with the manual settings in a more serious manner. I was in Mount Rainier National Park in Washington state as a new college graduate without the fear and pressure of getting photos wrong and my grade looming over my head.
As I drove through the park and pulled off the road into the parking spots, I pulled out my camera, dialed it to ‘M’ and adjusted my settings to what I thought would be right. They were wrong. I tried again. And again. And I refused to put my camera back on auto the entire trip.


Eventually, I came across a hiking path that lead to a waterfall. I was so disappointed that I didn’t have my tripod with me. But I was determined to see if I could even get the settings right. To my surprise and excitement, I did!

Ever since that day in Mount Rainier National Park, I’ve tried my hardest to shoot in manual mode. And dare I say the images in manual mode look way better than the ones shot in automatic.
The best way to get started is to go for it. Learn on digital. Don’t stress and worry if it turns out. Just shoot, adjust your settings if necessary, and try again. Keep trying and don’t give up. You will get it!
The three most important settings you need to adjust on your camera when shooting in manual are ISO, shutter speed, and aperture. Knowing how to work those three, you can capture just about anything.

ISO
ISO stands for International Standardization Organization and tells the camera how sensitive it needs to be to light.
In film cameras, you might hear it referred to as film speed or ISO. You can purchase film based off the light sensitivity you need. Once you put that roll of 400-speed film, for example, in your camera, the next 36 shots needed to be shot with 400 settings and you would be unable to change it until you chose to put a new roll in.
In digital cameras, it’s just called ISO and unlike film, cameras can be changed in between each shot. This helps to ensure your settings are correct to get the best possible photo.
One of the basic things to know about ISO is the brighter the light, the lower you want the setting to be. The darker it is, the higher you want the setting to be.
Keep in mind that once you hit an ISO of 800, grain starts to become visible in your images depending on the other settings of the camera. Once you get into the 1000s and above, there really is no avoiding it.

ISO is always the last setting I adjust and the one I frequently forget to change. With that, my photos either have white blow out to the extreme and in that case, I would lower the ISO setting. Or they are so dark I can’t see anything and in that case, I would raise the ISO setting.
A good exercise for you to understand ISO a little more is to play around with it. Take a photo of the same thing using different ISO settings during the day and the night. See how the different settings affect your images.
Aperture
Aperture of f-stop refers to the opening that lets light in to expose the image. It operates in a very similar way as the iris on your eye.
Much like the iris of your eye opens and closes depending on the lighting conditions of your environment, the aperture does the same. The only difference being your iris does it automatically where the diaphragm on your camera must be told, by you, how far it needs to open.

When you click the shutter button that part of the camera opens to the set amount you told it exposing the film or, in the case of digital, the sensor to the light of what you see in front of you. When you release the button it closes.
That is a very basic explanation of how photography works.
For the longest time, aperture was one of the most confusing settings for me to wrap my mind around. The larger the number or f-stop, the smaller the opening to let light in. Makes total sense, right?

Don’t worry if you’re completely confused. With a little practice, it will make sense in time.
If you want to play around with it, on a cloudy day find something to take a picture of outside. Set your ISO to 400 and your shutter speed to 1/250. Then start at one end with the aperture as open as it can be. After each picture, you take, change the setting so the opening is just a little bit smaller.
When you’re done, compare all the pictures to see how they turned out.
Shutter Speed
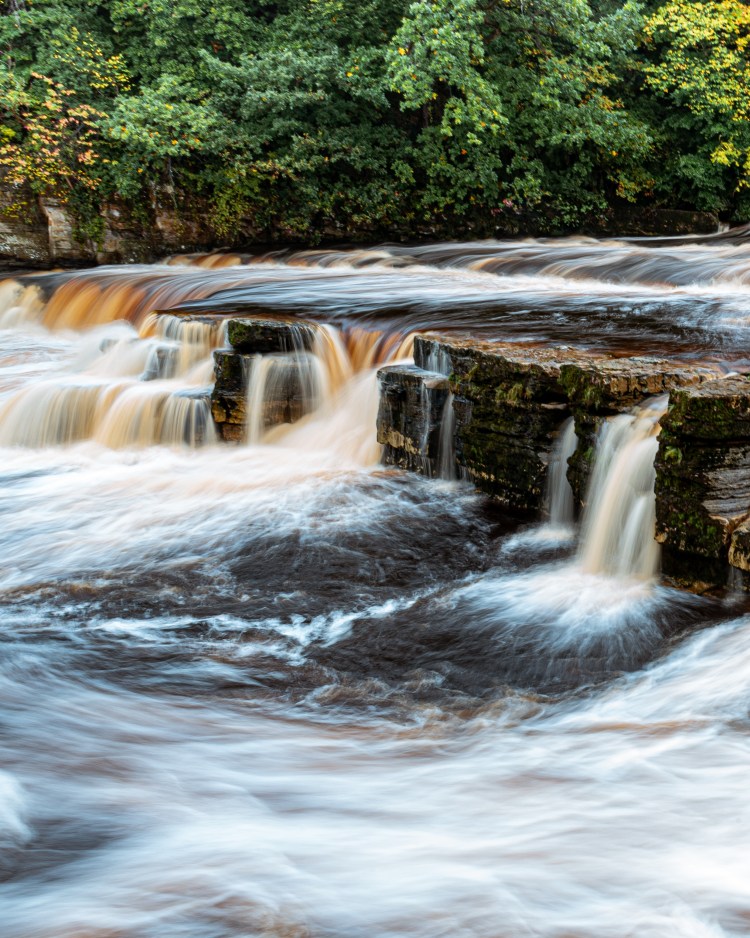
Shutter Speed controls how fast your shutter opens and closes. You can open it for a split second to catch fast-moving objects. Or you can open it for a longer amount of time to get the silky waterfall shots that I love.
When the shutter opens, it is exposing the film or sensor to light and capturing the image that you are seeing through the lens. When it closes, the exposure is complete and you have a picture.
A good starting point for shutter speed is around the 1/300 to 1/250 range. Mine is normally in that range. The only time I change it is if I want long exposure shots.
Have a No Fear Attitude
Some of your photos are going to look like crap. It’s the nature of learning how to shoot in manual mode. But don’t let that discourage you and definitely don’t give up and go back to auto.
The beauty of the digital age is we no longer need to drop a fortune on film just to play around with the settings on 6 of your 36 exposures. You can see it instantly and retake it if you need to.
Don’t be afraid and don’t give up!
If you still aren’t quite sure how to piece together the settings in manual mode, PicMonkey created a handy-dandy cheat sheet guide to help you out.
Don’t forget to pin this and check back when you get stuck!


Quite an amazing blog! Really valuable insights!
Thank you!
Well explained thanks for your simplicity in explaoning the functions
So glad you found it helpful! Tag me in any photos when you give manual mode a try, I’d love to see them 🙂